I just wanted to post this tidbit, if any of you are in the same bind we are--needing affordable maternity coverage??
There are supplemental insurances out there that will pay out a tidy sum to you after you deliver your baby in a hospital, regular or Cesarean. We've searched high and low for an affordable plan since we have a personal health insurance plan, and as such, have a hefty maternity deductible. If you live in Utah especially, many supplemental health insurance companies have pulled out their benefits altogether. BUT, we found 3 plans that we can sign up for, and they all will help us out, in the event we have another baby. It's so great I wanted to pass it along to all of you. You don't have to live in UT either to benefit, since this agent is licensed in almost every state. If you want to find out more, call and be sure to mention you saw his name on my blog!! Hurry and call, at least one of the plans is pulling it's maternity benefit out on June 15!
Rob Wilkinson
801-573-9471
robwilkinson1@gmail.com
Hope it benefits some of you!
Friday, 4 June 2010
Little Girl's Hairstyles -- How to make a 3 rosette headband 10-15 min
This headband was my inspiration for this hairdo. This was made by yours truly, and yes, it should have 3 roses, instead of 2, but my rose sizes went askew, and so I layered my biggest and smallest, and heck, I just liked how this looked better..BUT, the idea is to have 3 roses, in the hairdo.


 This works well on those shorter lengths as well. If the hair is not long enough to make a twist bun, then do 3 half pulled through ponys, and bobby pin them down flat if possible. I apologize I don't have a head with shorter hair to demonstrate on! Have a marvelous weekend!


This was my first attempt of the day, on my older daughter. Her twist buns or rosettes were closer together than in the hairdo that illustrates how to do this, but you'll get the idea.

Part from ear to ear.

And comb over to one side, making the front part damp. The damper the hair, the better and longer it stays in the twist bun.

Divide the front section into 3 ponytails. Try to put the ponytails as close together as you can, by centering the middle section's elastic, and bringing the two sides elastics as close to the part as possible. The right pony pictured is close, but the left side could have been closer.

Begin twisting the ponytail

and then wrap it around the elastic, but not tightly. You want to wrap it flat against the head, but close enough together to fill in gaps.

When you get to the ends

Take a mini pin and secure it tightly. The mini pins are great because they fit in these little rosettes or twist buns.
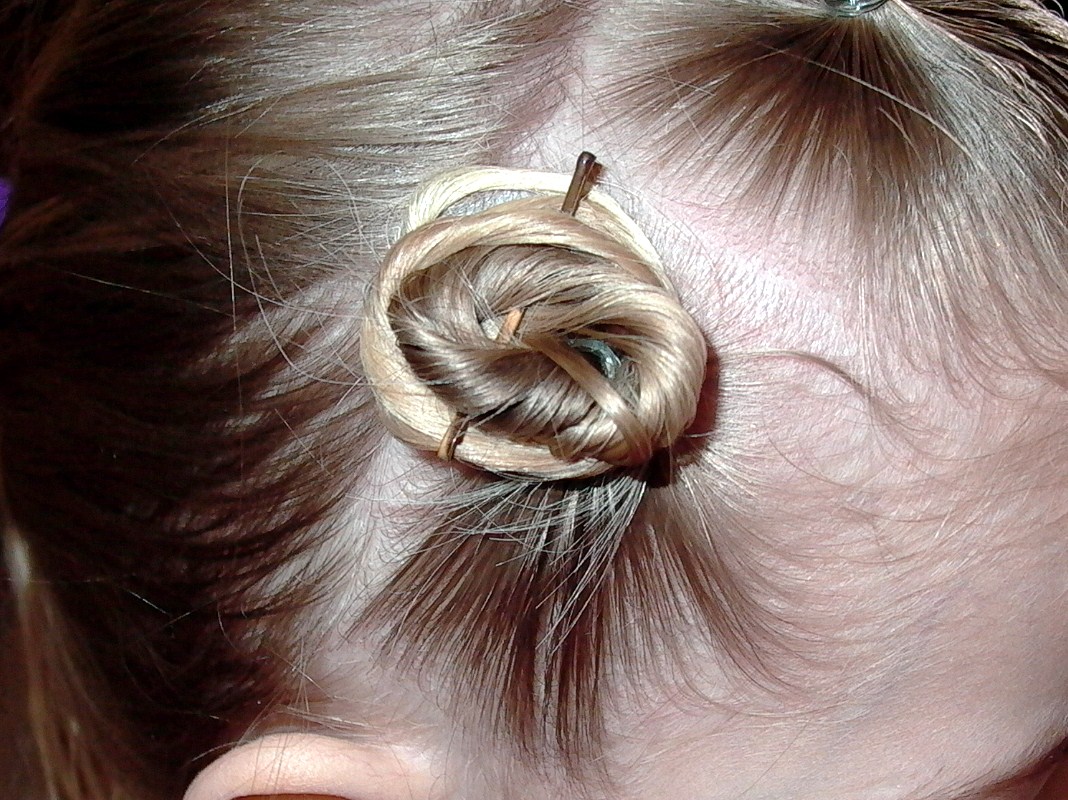
Continue with the other two ponytails and make them twist buns/rosettes. Use more bobby pins or mini pins to make them secure, and try to wrap them so they lay as close as possible to each other.


After I made the three twist buns/rosettes in front, I did corkscrew curls in the back of her hair.


Wednesday, 26 May 2010
Little Girl's Hairstyles - How to use a curling iron / corkscrew curls Video Tutorial
We just had a little too much fun with this one.....but what can I say? My gal sits for me through these things and is so patient and wonderful. She was all giddy at actually getting to make a peep for once!
Wednesday, 19 May 2010
Little Girl's Hairstyles - How to do a French Braid with Super Twist Braid 15-20 min
I've been away! Sorry for the delay in posts.You all know that a mother's life is never a boring one! I've been with my brother and sis. in law, who just welcomed no. 3 into their family, and then my family was away on a little vacation. (No cooking or cleaning for me!)
So, here we are with a little something new. This twist braid has become a new fave of ours. My daughters have been practicing it on their barbies. We hope you like it too!


So, here we are with a little something new. This twist braid has become a new fave of ours. My daughters have been practicing it on their barbies. We hope you like it too!

I began with a center part down to her neckline. And of course....her hair is thoroughly dampened. Keep that spray bottle handy!

I parted off the front side to begin my french braid. I was aiming for a straight line from about her eye level to the back center of her head.

This is where I started my french braid. I usually end up doing the backwards/Dutch braid, since for some reason, my fingers find it easier than the normal french braid.


Bring braid to the center part.

Repeat the french braid on the other side and bring to the same point in back. Secure both together with an elastic. (Does anyone else have the difficulty with getting their text to align left? Every time I do it it kicks me back to my top paragraph! What's the secret you super bloggers? I just get irritated and yell at my computer!)

After making the ponytail out of the french braids in the back, I then begin a few twist braids.

Depending on the thickness of her hair, do 2-4 twists, making up approximately 1/2 of her hair in twist braids.

After making the small twist braids, I divide the hair into two sections, to begin a large twist braid. I divide the small twists evenly and divide the rest of the loose hair evenly, like in this picture.

Then I did a twist braid.

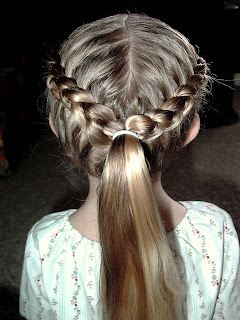
Finished super twist braid!


My main thought in beginning this hairstyle was the french braid to the back, since that's something that could be used on shorter hair as well. I always have to improvise what to do with her length of hair, so hence the super twist braid.
Have you noticed how much I like to braid? Braids are so great for two reasons: They stay in (most of the day), and they keep the hair from getting tangled throughout the day. I get really tired of combing out knots at night, and so do my girls. I also put their hair into a loose braid before bed time to eliminate knots in the mornings.
Have a great day!

Thursday, 13 May 2010
Do you think you have the cutest kid?
I found this awesome contest and had to post about it. I know you've sent me some darling pics of your kiddies, so I know you have super duper cutie pies! So enter a pic (with their fabulous hair of course) of them in this contest! I'm going to be perusing some of my favorite pics to send in too! Check it out!

Subscribe to:
Posts (Atom)