Wednesday 30 June 2010

Little Girl's Hairstyles - How to do an American Flag Hairdo 15-20 min

Well, here's our attempt at being patriotic! I thought about attempting a fancy star hairdo, but that involved way too many elastics for my taste or my imagination. So, when posing the question to my 6 year old about something festive hair-wise to do, she said, "How about a flag mom?", and so here we go. I was just grateful I had the right colors of ribbons in my ribbon bag (since I'm not the type to run to the store to buy the right colors for a hairdo!). These odds and ends worked right nice together methinks.
So here's to you little sparkler fiends--keep those away from the ponytail and you'll be doing fine. Have a wonderful 4th of July!
I started with a side part in the front with very damp to wet hair.
I gathered the small side of the part, down to her ear,
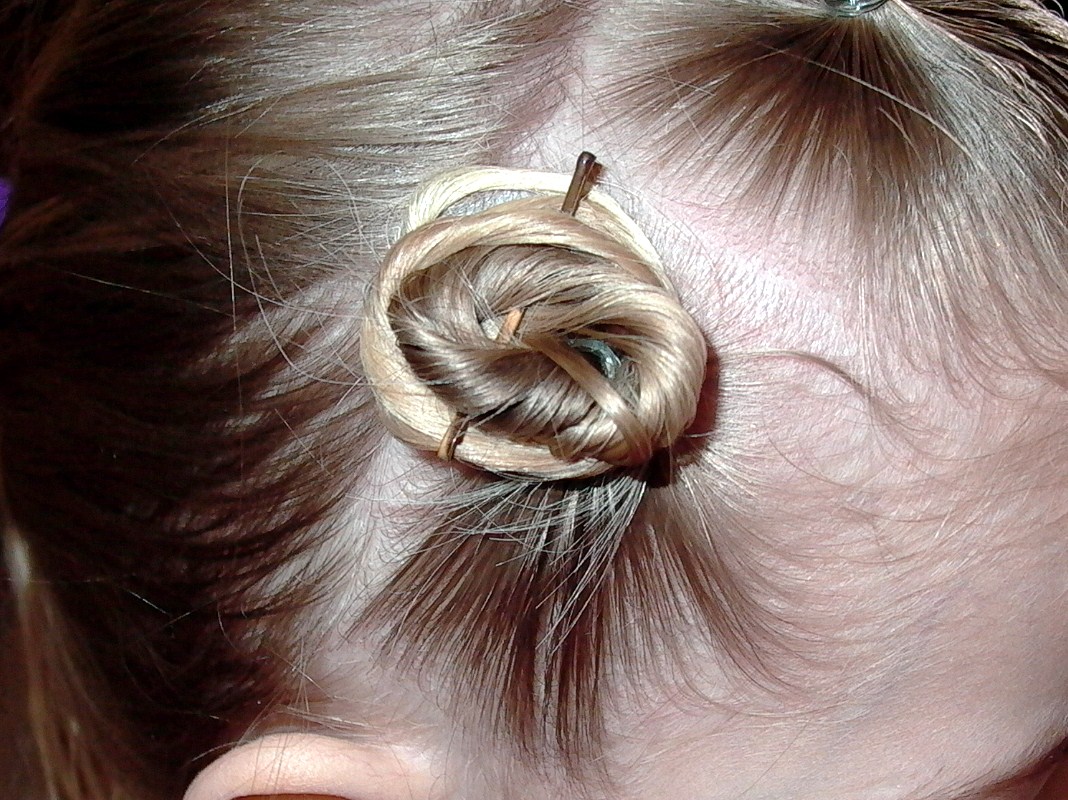
and put it in a twist bun.
I then wrapped a bright blue ribbon around it. You could also bobby pin this bun flat, instead of wrapping it with a clear elastic, like I did here, if you don't want it to stick up. This is the "stars" portion of the Stars and Stripes.
Starting from the front of her head, I then parted the hair into four equal sections, going from ear to ear, and down the back of her head. I angled them all, and this happens pretty naturally when following the curvature of the head, to end behind her ear, since I gathered them into one pony at the end. I then did an inside out french braid in each section, braiding down from the head a few inches so I could gather the ends together.
This is where I gathered it all together into one ponytail.
I added a red and white ribbon around the elastic, and there you have your 'stripes'!
My gal was not feeling so patriotic when photo shoot time came around.
I hope this is something fun for you festive ladies! I'm not sure my littles will let me touch their locks on the 4th. All my hard work was shown off at the dentist office. Ay me. But it got a lot of compliments! (And then of course she was smiling). :) Happy Holidays! Please share any fun things and/or do's you did!

Thursday 24 June 2010

Little Girl's Hairstyles -How to do a 4 Strand Braid "Heidi" UpDo 10-15 min

So, do your girls ever run and hide when you pick up a comb or a brush? That's what's been happening at our house lately. Maybe it's because it's summer and they just want to go outside and run around madly in their swimsuits. Who can blame them? All I know is that my girls BEG for 'just ponytails, k?", or "just a braid, puh-leeze mom?"after I've coerced/bribed/threatened-to-shave-your-head them into the bathroom.

SO, in my undying devotion to you fellow bloggers who take the time to peek at us once in a while, I've posted this little 'just a ponytail/braid' do for you. And of course, we tried to make it a little fun, all the while keeping it out of the face, and allowing them to see clearly while running to and fro on the Slip-n-Slide. Plus I like calling it a "Heidi Hairdo". :)


For this hairstyle, I zig zagged her part from forehead to neck, and put her hair up in two high ponytails.
I then did a 4 strand braid in each ponytail.
Next, and there are a variety of ways you can do this, I just wrapped her ponytail around the other. Now, I get that many of your lovely darlings don't have hair as long as what's pictured here. There are still options! You can place the ponytails closer together, right next to the part. This will have more of a 'bun' effect. You can also just join the braid's ends together in the middle with an elastic. But since my available model has this length of hair, here's what you can do as well.
With the second braid, I tried to layer it as I wrapped it around. Wrap it pretty much however it's going to lay best, and the tightest. I've done it two different ways in my pictures. I did it this way, shown below, and then it's different in the pics shown where she's wearing the flower. I tried to make a figure 8 with the braids.
Bring the ends together underneath and join them.
If you have long ends still at this point, tuck them under the braids, and place them where you'll be able to secure them with a bobby pin.
Secure the braids and ends with a bobby pin, using at least 2 on each side.
If your braid is standing up from the base, like the one on the left in the below picture, push it down so it lays flat, and keep securing the braids wherever necessary.
I stuck in a flower right on top of where the braids joined together underneath (big flowers are super for hiding things). And Voila! She's ready to go! (You may want to remove the flower for slip-n-slide fun though).
Doesn't hurt to be cute while you are having fun, right?


Tuesday 15 June 2010

Little Girl's Hairstyles- Question and Answer- Hairstyles they can sleep in??


This is a super question I got from Jenn on my FaceBook page:

So here is my issue. I have to my daughter's hair at night because I leave for work before she is awake. My husband (bless his heart) can barely do a ponytail. Suggestions for hairdos that hold up well for sleeping? Her hair is almost to her waist and straight. Thanks!!! :-)

This is something we all deal with, right? Every Saturday night I think of what I can do to beautify the mounds of hair I face in the morning before church, so I can actually make it there on time! Well here's a few ideas that I do.......(these are do's that I take out the next morning).

Using soft curlers!

This is something that turns out adorable 99% of the time. Someone just has to take out the curlers, comb it out from underneath, and just clip in a cute barrette in the front to keep the hair out of the face. This is something the most beauty-challenged guy could do (with a little practice and instruction of course!).

Doing a double French Braid!

This is just a pic of a hairdo that I thought turned out cute......but doing a double french braid like this (all the way to the ends of the hair) turns out great the next morning. You undo the braids, and since it's been in two braids of the same size, the hair will be evenly waved. Undercomb it with only fingers and do it gently so not to frizz the wave or pull it out. If the ends are long and unwaved, and if you have a waver, then use it only on the ends. I do this all the time! You could also just do a small corkscrew curl on the ends. Your best bet is to braid the hair down as far as you can. I also like doing the zig zag part since it works like putting in curlers, there's no definite line down the back for the hair to part off to.

I also liked Sue's idea on FB for keeping in hairdo's at night (ones you don't plan on taking out the next morning).
this may sound bizzare, but if i want to keep my daughters hair nice for the next day ( without all the whispy bits ) i get her to sleep with a pair of tights on her hair ( obviously i cut the legs off first ), that way no matter how much she tosses and turns her hair always remains the same.

I'm going to have to try this one....

One last tip: If your gals have hair that wakes up a tangled and knotted mess in the morning, then you can try this. After baths at night (or whatever your routine is) we just comb it and put it in a loose braid. They wake up with slightly wavy, and knot free hair! It combs out easy, and sometimes is still damp, which is great, since I don't have to resoak their heads again.
Thanks for the questions and answers ladies!

Monday 14 June 2010

Little Girl's Hairstyles - Figure 8 French Twist Braid 20-30 min

Sorry for the delay in posting again ladies! Let me just say that it's summer, kids are out of school, and I had to get out of Dodge! (This may happen frequently...)
 Here's a return to a favorite of mine: The Figure 8 French Braid. I love incorporationg different braids into favorite hairdos to see how it looks. So instead of the French Braid, I did a French Twist Braid.  I really like how this one turned out. I did a half pulled thru pony at the bottom for a different look too. Give it a whirl!


Friday 4 June 2010

Need Maternity Coverage?

I just wanted to post this tidbit, if any of you are in the same bind we are--needing affordable maternity coverage??
There are supplemental insurances out there that will pay out a tidy sum to you after you deliver your baby in a hospital, regular or Cesarean. We've searched high and low for an affordable plan since we have a personal health insurance plan, and as such, have a hefty maternity deductible. If you live in Utah especially, many supplemental health insurance companies have pulled out their benefits altogether. BUT, we found 3 plans that we can sign up for, and they all will help us out, in the event we have another baby. It's so great I wanted to pass it along to all of you. You don't have to live in UT either to benefit, since this agent is licensed in almost every state. If you want to find out more, call and be sure to mention you saw his name on my blog!! Hurry and call, at least one of the plans is pulling it's maternity benefit out on June 15!

Rob Wilkinson
801-573-9471
robwilkinson1@gmail.com

Hope it benefits some of you!

Little Girl's Hairstyles -- How to make a 3 rosette headband 10-15 min

This headband was my inspiration for this hairdo. This was made by yours truly, and yes, it should have 3 roses, instead of 2, but my rose sizes went askew, and so I layered my biggest and smallest, and heck, I just liked how this looked better..BUT, the idea is to have 3 roses, in the hairdo.
                                      
This was my first attempt of the day, on my older daughter. Her twist buns or rosettes were closer together than in the hairdo that illustrates how to do this, but you'll get the idea.
                                            
Part from ear to ear.
And comb over to one side, making the front part damp. The damper the hair, the better and longer it stays in the twist bun.
Divide the front section into 3 ponytails. Try to put the ponytails as close together as you can, by centering the middle section's elastic, and bringing the two sides elastics as close to the part as possible. The right pony pictured is close, but the left side could have been closer.
Begin twisting the ponytail
and then wrap it around the elastic, but not tightly. You want to wrap it flat against the head, but close enough together to fill in gaps.
When you get to the ends
Take a mini pin and secure it tightly. The mini pins are great because they fit in these little rosettes or twist buns.
Continue with the other two ponytails and make them twist buns/rosettes. Use more bobby pins or mini pins to make them secure, and try to wrap them so they lay as close as possible to each other.
After I made the three twist buns/rosettes in front, I did corkscrew curls in the back of her hair.
This works well on those shorter lengths as well. If the hair is not long enough to make a twist bun, then do 3 half pulled through ponys, and bobby pin them down flat if possible. I apologize I don't have a head with shorter hair to demonstrate on!  Have a marvelous weekend!