
This was my first attempt of the day, on my older daughter. Her twist buns or rosettes were closer together than in the hairdo that illustrates how to do this, but you'll get the idea.

Part from ear to ear.

And comb over to one side, making the front part damp. The damper the hair, the better and longer it stays in the twist bun.

Divide the front section into 3 ponytails. Try to put the ponytails as close together as you can, by centering the middle section's elastic, and bringing the two sides elastics as close to the part as possible. The right pony pictured is close, but the left side could have been closer.

Begin twisting the ponytail

and then wrap it around the elastic, but not tightly. You want to wrap it flat against the head, but close enough together to fill in gaps.

When you get to the ends

Take a mini pin and secure it tightly. The mini pins are great because they fit in these little rosettes or twist buns.
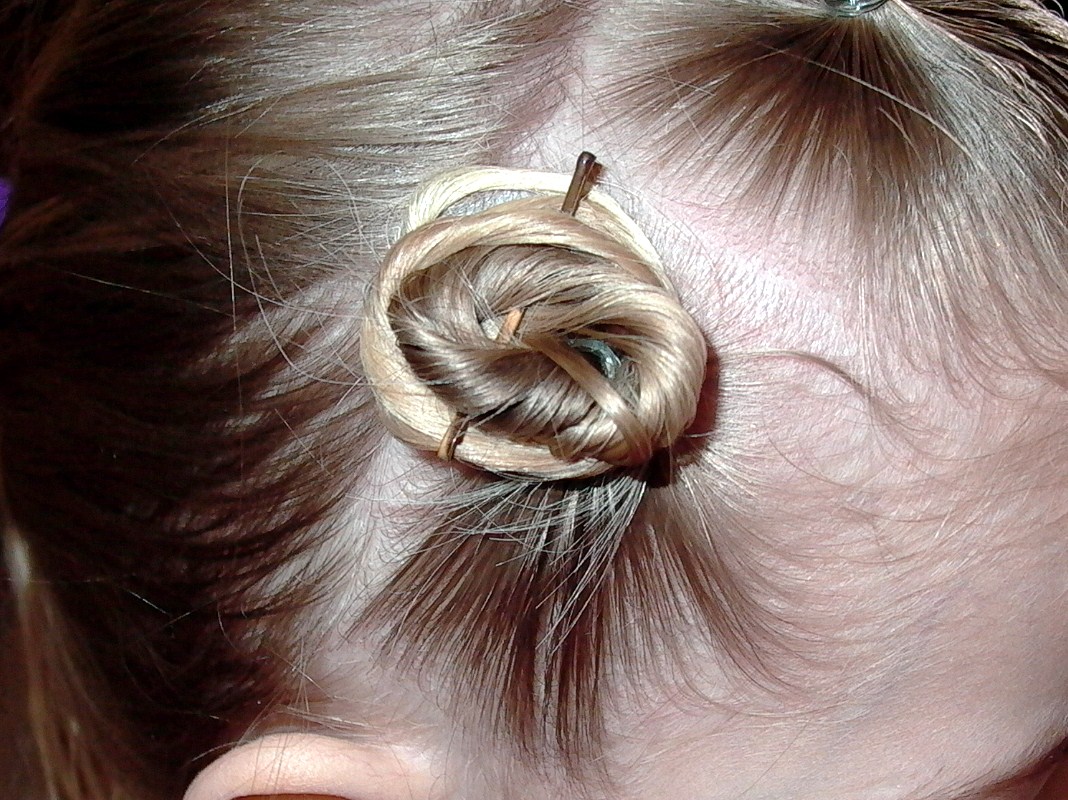
Continue with the other two ponytails and make them twist buns/rosettes. Use more bobby pins or mini pins to make them secure, and try to wrap them so they lay as close as possible to each other.


After I made the three twist buns/rosettes in front, I did corkscrew curls in the back of her hair.


No comments:
Post a Comment